Want a more secure login for WordPress? I’ll show you how to set up two-factor authentication on your WordPress site in a jiffy.
Why you need 2FA
If you do any online banking or shopping, you might be familiar with 2FA login security. I hope you’re taking advantage of it!
Two-factor authentication (2FA) is simply more secure. Password logins are no longer as secure as they were in years past. It’s too easy for hackers to uncover your password through brute force attacks, phishing, or through data breaches. 2FA requires secondary validation to log in, such as a 6-digit code which expires in a few seconds. Since you’re the only person receiving that code, accessing your account with only your password is extremely difficult.
Native WordPress login isn’t enough
Currently, a typical WordPress installation only requires a username and password to access the Admin dashboard. Just like with your online bank account, that’s not a very secure method of logging in.
2FA protects your WordPress site by requiring more than just a username and password. In addition to using 2FA, a couple other security musts are:
- Never reuse passwords. If a site gets compromised in a breach, hackers may be able to connect you with your WordPress site and gain access using your password.
- If possible, don’t give out your Admin login credentials. If you need someone to access your site as an admin — like a web developer or tech support — create a new login for them.
Now that you understand that native WordPress login security isn’t very secure, I’ll show you how to get 2FA working on your site.
Implement 2FA with a plugin
You don’t need to do any coding or complicated tweaking of your theme. You can have super secure login security with a simple, free plugin. There are a lot of security plugins out there, but I recommend Wordfence. Why?
- It’s easy to set up.
- It’s easy to use.
- It has a free version.
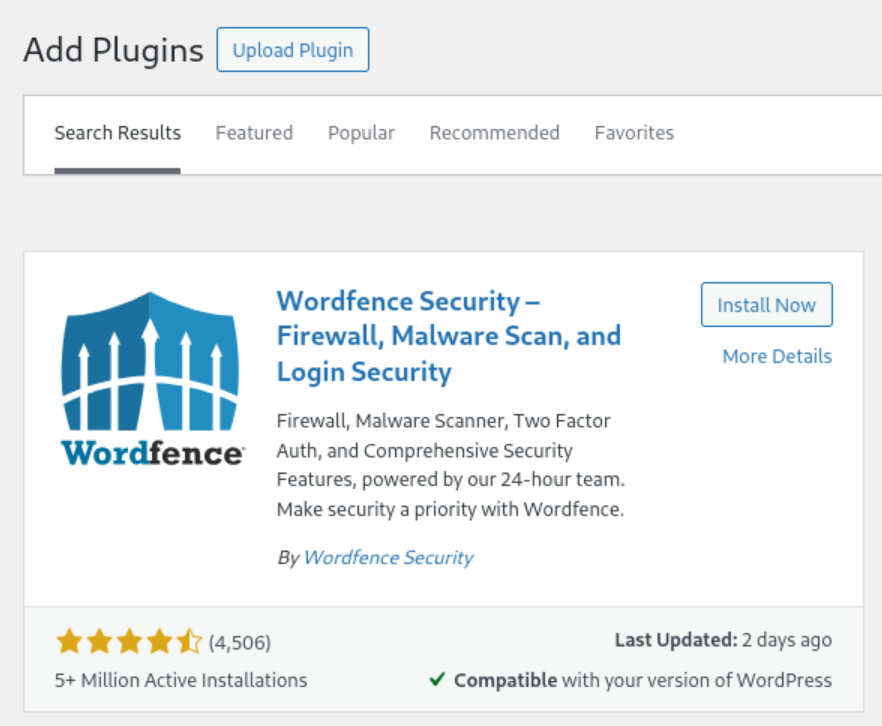
Wordfence is one of those plugins where the free version gives you everything you need out of the box. Yes, there are premium features you can pay for, but for basic 2FA security, monitoring, and reporting, the free version is awesome.
Get an authenticator app
No matter what plugin you use for 2FA, you will need some kind of authenticator app to provide you with your temporary code. Unlike some online accounts, the code can’t be sent via SMS (text to your phone or an email). Using an app is a great idea for other online account logins, too.
The ones I recommend are:
I addition to the two-factor authentication feature, 1Password is an amazing app all around. Google Authenticator is also excellent and free, as is FreeOTP. All apps are available in the Apple app store and Google Play store, as well as extensions for Chrome or Firefox.
Once you have your app of choice and become familiar with it, you can move on to setting up Wordfence!
How to set up 2FA using Wordfence
You can install and activate Wordfence right from your dashboard. Head to Plugins→Add New Plugin and search for “Wordfence.” There are a few Wordfence offerings. The one you want is Wordfence Security — Firewall, Malware Scan, and Login Security. Once it’s activated, we can start setting things up.
Step 1: Get your Wordfence license
As soon as you activate, a popup will ask you to get a license. Don’t worry, it’s free. Just click the blue button.
On the next screen, choose Get a Free License.

In the popup window, just click “I’m OK waiting 30 days for protection from new threats.” You can always opt in for extra protection later.
In the next window, enter your email. I recommend selecting “Yes” to receiving WordPress security and vulnerability alerts. You can always tweak the frequency of emails or opt out later. Click Register.
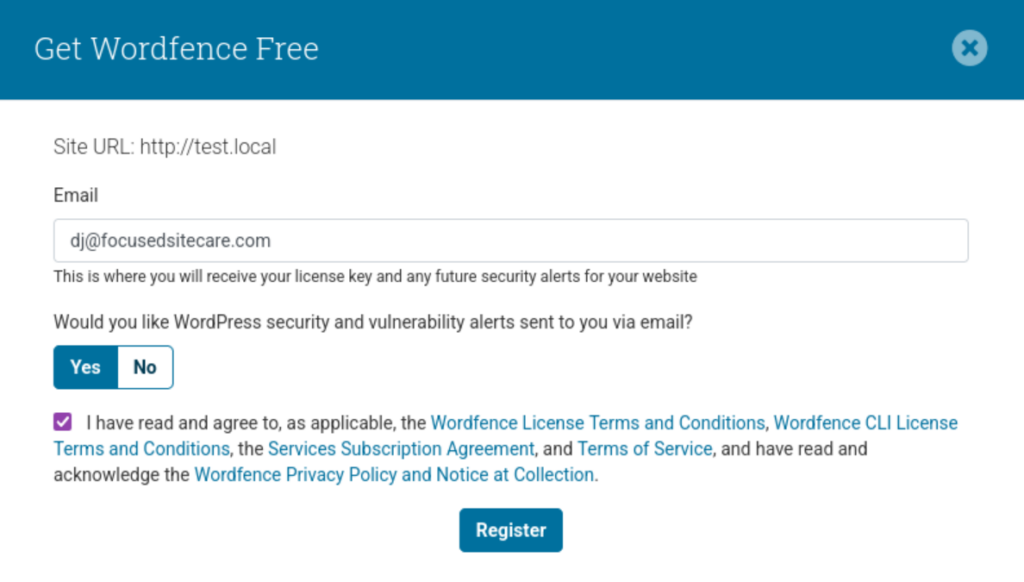
Now, check your email to complete the registration.
Step 2: Configure Wordfence for 2FA
As soon as you enter your license, a little window pops up, offering to take you on a tour of the Wordfence dashboard. I highly recommend doing that, as I’m not going to cover all aspects of the plugin in this tutorial. Take a few moments to get familiar, then let’s get to 2FA!
In the left side of your dashboard under Wordfence, click Login Security.
You’ll see a QR code to scan, which is great if you use your authenticator app on your phone. They also provide you with a text code that you can enter into a desktop app or browser extension if you use one of those.
On the right you’ll find a list of Recovery Codes. These are helpful if you can’t access your authenticator app or otherwise have trouble with the code you’re given. Download these codes! They have saved me more than once.
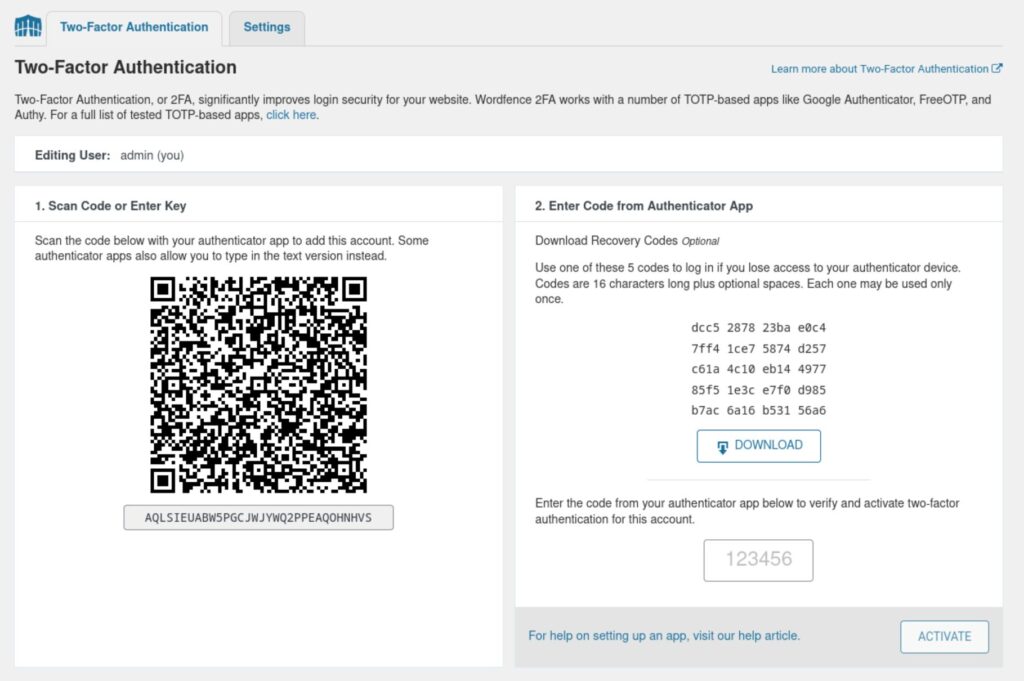
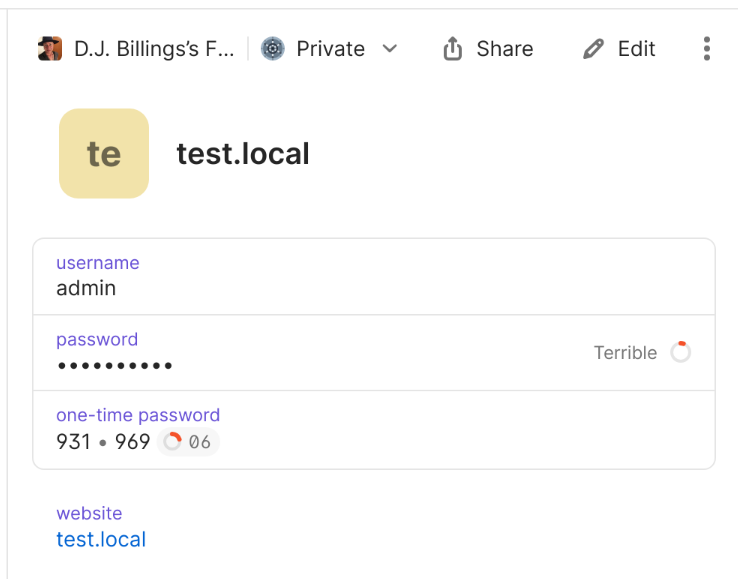
To activate 2FA, scan the QR code or copy the code below it, called a one-time password. In my case, I’m entering the code in my 1Password login for my website. Your app may use a different method, but it will likely be similar.
As soon as I enter the one-time password, I get a temporary code that also displays a countdown timer showing me how long I have before it expires (don’t worry, when it expires you get a fresh one). I copy that and paste it into the authenticator field in Wordfence and click ACTIVATE.
Step 3: Test the login
That’s it for configuration! Now, if I log out of WordPress and try to log back in, I’m presented with a Wordfence 2FA Code field after entering my username and password.
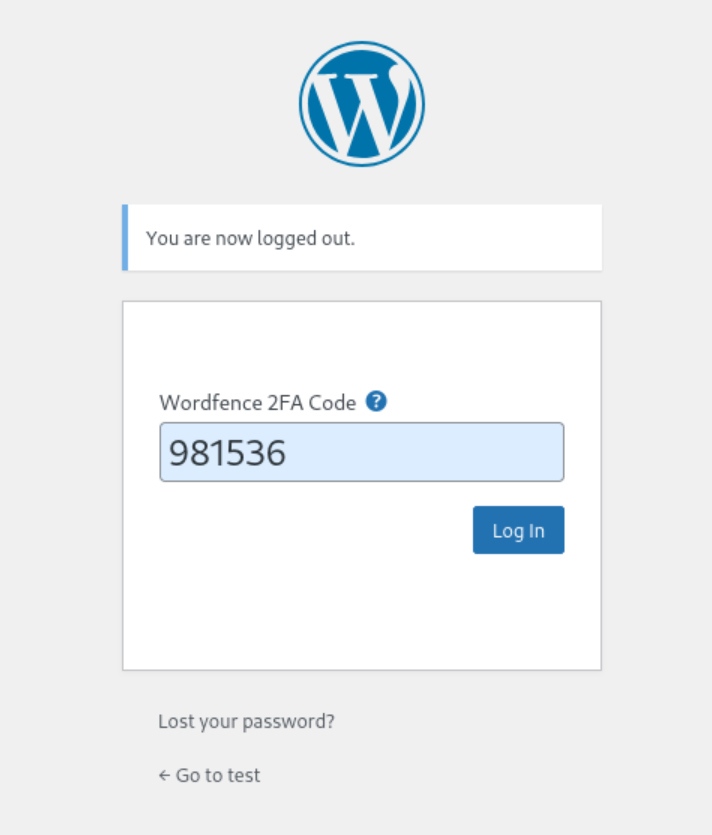
Since I’m the only person who gets that code, no one else will be able to log in to my WordPress site, even with my credentials.
Two-Factor Authentication for the win!
Hopefully you can see how useful — and easy — 2FA can be for your WordPress site. There’s a lot more you can do in Wordfence, and I encourage you to explore the plugin and boost your site’s security even further.
Questions? Drop them in the comments below. 🙂


Leave a Reply